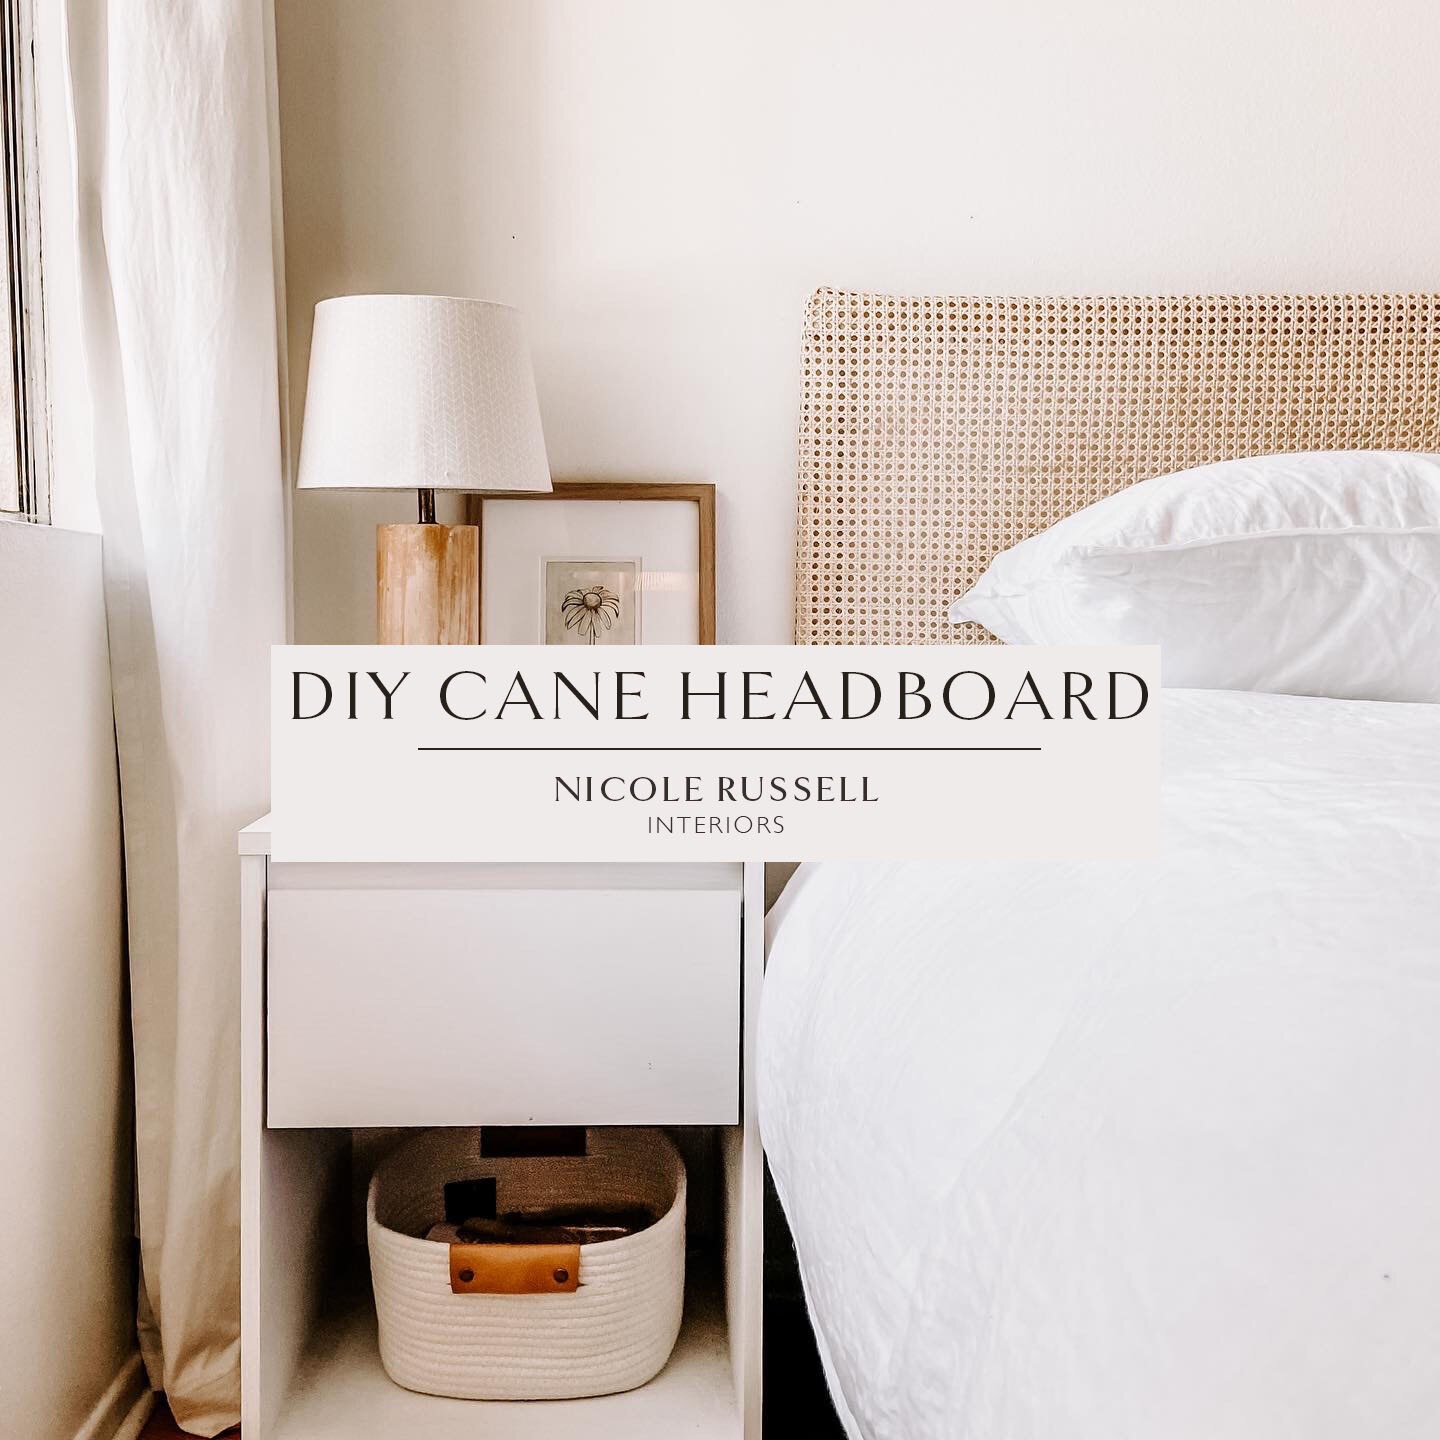
DIY Cane Headboard
I posted the tutorial for this DIY on Instagram last week and am adding the full video here on the blog! It was seriously a SUPER easy DIY that practically anyone can do with barely any tools needed. Have your local hardware store cut your wood pieces ahead of time to the correct size and the only tools you will need are a screwdriver and a staple gun. It is also super affordable. The entire project ended up costing $82 for a brand new headboard!
Tools and Supplies Needed:
Screwdriver
Staple Gun
Wood Screws
Cane Webbing (purchased here)
(3) 2x8 wood pieces (this is what I purchased, basically the cheapest option Home Depot had)
Wireless Picture Hanging System (purchased here)
Step 1:
Have your hardware store cut your wood pieces to the dimensions desired for your headboard. We have a king bed so my overall dimensions were 6’6” x 21”. The widest the cane webbing was available in was 24” and you have to account for wrapping it around the frame. One thing to note, is that the way I screwed the frame together in the video made it sit off the wall too far when I went to hang it and ended up having to install a wire system like you would with a picture frame. Originally I was planning on just putting a couple nails in the wall and resting the frame on it, but then realized that wasn’t going to work. So with that being said, you could try putting it together by cutting 45 degree angles to your corners and get fancy by screwing it together with pocket holes. You will need a pocket hole jig and a chop saw. If you have those things, that route would be better allowing the headboard to lay flush with the wall and then you could easily hang it.
Step 2:
Begin soaking your cane in water. for 15-20 min so that it is flexible enough to wrap without breaking. You’ll see I soaked mine in the sink and after realized the bathtub would’ve been much easier. So learn from me and soak it all in the tub.
Step 3:
Prepare your frame by attaching the wood pieces together with screws. I just screwed directly into the wood with the screwdriver. You could obviously pre-drill holes to make it even easier, but the wood I bought was soft enough to skip doing that.
Step 4:
Lay your cane down underneath the frame and begin wrapping it around the frame stapling as you go. I stapled about every 4” to keep it tight. For the corners, I folded them like you might with upholstery by folding one side in and the other angled over it (see video). You can definitely look up other folding techniques and try those out too!
Step 5:
Hang your headboard on the wall like you would a picture frame. I purchased a wireless hanging system off of Amazon and it was super easy to install and works great. Originally I was planning on just putting a couple nails in the wall and resting the frame on it but then realized that wouldn’t be secure enough and was a lazy idea. The hanging system is much more secure. You could also do a wire hanging system which would work well too but is more difficult to install.
And that’s it! Let me know if you have any questions in the comments!


